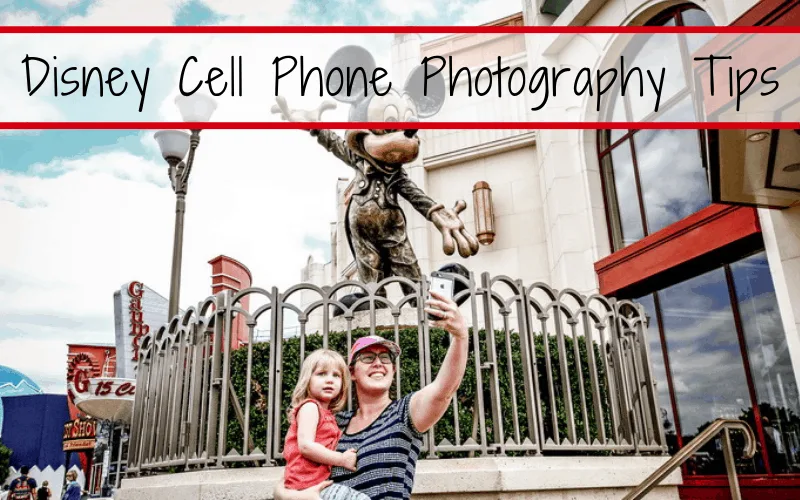
The ability to properly use a Mobile device for Disney Photography in theme parks is essential to capturing those impromptu magical moments especially for the non-photographer in the group.
As you may know, now we almost exclusively do Disney travel. With all the Bright lights, Darkness, and high motion photography subjects (Kids, Characters) how can the non-photographer in the family capture those moments?
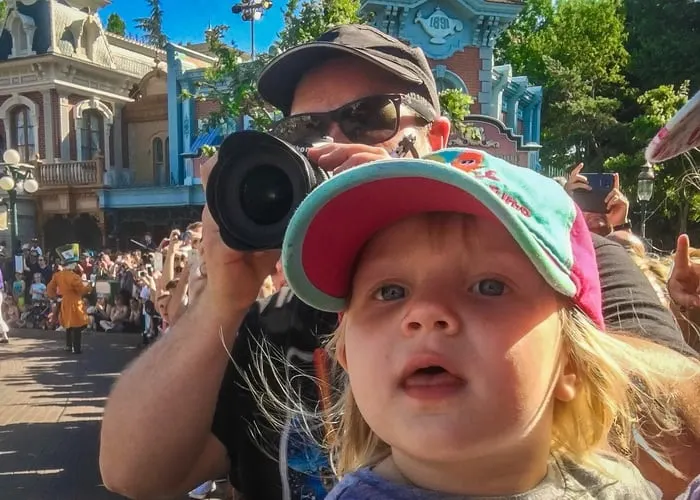
When contributing to the memory-capture part of the vacation, my partner uses a DSLR and multiple lenses; well I have the stroller, two kids, snack packs and a mobile phone. That’s how we like it.
To which I earn a small commission, at zero cost to you!
Find more info in our Privacy Policy.
What Equipment You Really Need
Your phone, of course, the best options for phones vary by your brand preference. However, you are going to need a smartphone for useful printable images.
You will see blogs (like ours) that use high-res images from DSLRs and high-end cameras this is required for the work that goes into presenting content on different online platforms.
You likely aren’t going to need that for printing family photos made in the parks. Now that we have an iPhone X and XR in the mix, you may see our phone photography game stepping up, like in video format. We shall see.
Disney Mobile Photography for the Win?
What do you want to do with your photos?
Most newer smartphone cameras are high enough quality to provide photos that are perfectly fine for sharing on social media and even for developing in smaller sizes. However, if your goal is larger-scale photographs then you may want to consider using a higher-quality camera for blogs.
The idea of how much gear you want to carry around and how comfortable you are using a big fancy camera should also come into play. No sense bringing a camera you have no intention of using them for large format.
Disney Mobile Photography
Tips Every Photographer Should Know
Make Sure the Lens is Clean
Being in your pocket all day, or rubbing up against something in your backpack, can leave dirt and film on the camera’s small lens. And you may not even notice it while you are busy taking pictures. But you will see if while editing and trying to find that perfect shoot.
Don’t Zoom
This one is hard to do, even for me. Don’t use the digital zoom feature on your phone. Your shoots will always turn out grainy. Instead, get closer to your subject or use an app later to edit the photo.
Hold the Flash
Flash photography the flash (LED) on a phone has a great way of ruining your shoot. At night, the contrast is just too great and you end up with an overexposed or harshly light photograph. Opt for natural lighting or no photo at all.
And when it comes to ride photos, stick to ‘no photo’. Your photo will likely suck as an LED flash has a way of ruining the experience of the ride.

Use Natural light and know where it is.
It’s important to keep the sun behind you when you are taking photos. If you don’t, your foreground elements, like your
Take Several Shoots
More is more. Of slightly different angles. Or the same angle. Someone’s always blinking or looking the wrong way or pinching their little sister. The more photos you take, the more likely it is that somehow an actual quality image will sneak in there among the mayhem.
When strangers ask me to take their photo, I make it a rule to take 2-3 portrait, and another 2-3 landscape. You never know which they prefer and just in case something is wrong with the first few.

BACK UP your photo files early and often
If you don’t have your cloud actively backing up your images as you take them, which uses a lot of power, be sure to back up your images when you get back to the hotel. This can be done either to your laptop, tablet or any type of cloud account like Dropbox or Google Drive.

Use the Basic Rules of Photography
The Rule of Thirds is a good place to start. You can use the grid on your phone’s camera or in a camera app to help.
In its most basic form, the rule of thirds states that the most important subjects of the photo should be placed along the gridlines and at the intersections of these lines, which are known as junction points.
Iphone Photography school
To switch the grid on …
- iPhone: Go to “Settings,” choose “Photos & Camera,” and switch “Grid” on.
- Samsung Galaxy: Launch the camera app, go to “Settings,” scroll down and switch the “grid lines” option to “on.”

Focus on one subject
Many of the best photos include just one, interesting subject. So when taking a picture of one, spend some extra time setting up the shoot. Many suggest that the subject shouldn’t fill the entire frame, and that two-thirds of the photo should be negative space — that helps the subject stand out even more.
Phone Accessories
Just as they are important for Digital Cameras, photography accessories are key to increasing your range with a phone’s camera.
Bonus Tip | Food Porn
When taking your food porn shoot, or even of merchandise while in the store, your phone will almost always generate a better image than your camera. It’s too close. This is why we suggest investing in a decent mobile phone with an amazing camera before you try your hand at a fancy DSLR.

At least this way, it’s a little more well rounded and everyone is a pro-photographer with a mobile phone.
Your Thoughts...
Please share your thoughts in the comments or reach out on social media...We would love to hear from you.
Follow Mouse Travel Matters for Disney Parks news, the latest info and park insights, follow MTM on Twitter, Facebook, and Instagram.
You May Also Like…
2018 Disney Parks Trip Planning Guides
How to Use the My Disney Experience Mobile App
Mobile Ordering at Walt Disney World
Best Shoes for Disney World & Theme Parks 2019 Men, Women & Kids
